Creating a movie app using Xamarin.Forms and Prism – Part 2

Pieter van der Westhuizen, a professional freelance web & mobile developer and founder of Coalition Software.
In the previous post, Creating a movie app using Xamarin.Forms and Prism – Part 1, we went through the process of creating and setting up a new Xamarin. Forms project using the Prism library and Visual Studio.
In today’s post, we’ll go through the steps of retrieving data from the web service and displaying it in a list view.
Since Part 1, the Prism library has had significant updates. If you’ve created the app from scratch before the Prism updates, you would need to update your NuGet packages as well as the RegisterTypes method in the App.xaml.cs, MainActivity.cs and AppDelegate.cs file in each project, to the following:
File, Open Project
We’ll continue on the code we created Part 1. You can get all the code for this series on GitHub, so go ahead and open the project you created in Part 1. We’re going to show a list of movie genres on the first page of the app. The project already contains a MainPageViewModel class which we can use, however, we’ll add our own Genre page and ViewModel by following these steps:
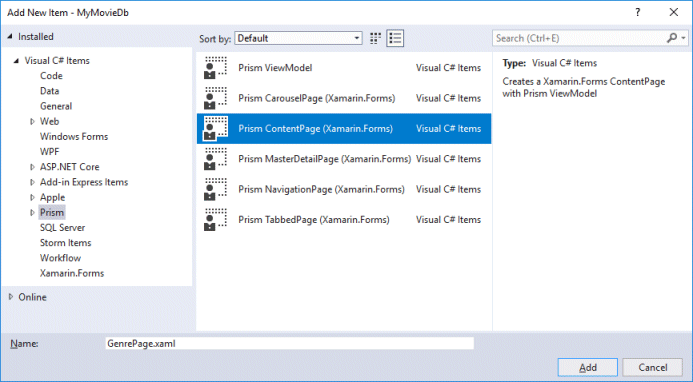
- Right-click on the Views folder inside the Solution Explorer and select Add > New Item
- Select Prism > Prism ContentPage (Xamarin.Forms), name the file
GenrePage.xamland click the Add button.
Because you’re using the Prism ContentPage item template, it will automatically create the following files for you:
- A
GenrePage.xamlfile with it’s associated code-behindGenre.xaml.csand; - A
GenrePageViewModels.csfile inside the ViewModels folder, which will act as the new page’s associated view model.
It will also automatically register the newly created page for navigation by adding the following line to theRegisterTypes method in the App.xaml.cs file:
containerRegistry.RegisterForNavigation();
Now, since we want to display a list of movie genres when the app first opens, we need to specify that the newly added GenrePage, should be the first page that is shown. To do this open App.xaml.cs and change the following line:
await NavigationService.NavigateAsync("NavigationPage/MainPage");
to
await NavigationService.NavigateAsync("NavigationPage/GenrePage");
Loading Data
Next, we need to fetch a list of movie genres from The Movie DB API and populate a list view on the Genre page. First, we need to make a small change to the ViewModelBase class by doing the following:
- Open the
ViewModelBase.csfile in the ViewModels folder. - Add a new property called
IsBusyto theViewModelBaseclass. You can use the Prism propp snippet to make this easier. The property should look like:
If you want to learn more about the available Prism snippets, be sure to read my post, Prism Library Quick Tip – Snippets
Next, we need to work on the view model for the Genre page.
- Open the
GenrePageViewModel.csfile inside the ViewModels folder. - Change the class to inherit from
ViewModelBaseand add a constructor with two parameters, one of typeINavigationServiceand anotherIMovieRepository: - Add an
ObservableCollectionproperty, called Genres, that will contain a list of genres to the class: - Next, add a new
DelegateCommand, which will be used to retrieve the genre data, called LoadGenresCommand. Use the cmd snippet to generate most of the code for you. - Change the
LoadGenres()method to the following (TheToObservableCollectionmethod is an extension method in theListExtensionsclass inside the Extensions folder): - Next, add the following line to the class constructor in order to execute the LoadGenres command:
LoadGenresCommand.Execute();
- Lastly, to register the required dependencies, add the following to the
RegisterTypesmethod in theApp.xaml.csclass:
Creating the UI
At this point, we have all the necessary code in place, we just need to create the UI to list the genres. We’ll create a simple UI to start with, that will only list the available movie genres, by completing the following steps:
- Open the
GenrePage.xamlfile inside the View folder - Replace the content of the
GenrePage.xamlwith the following:
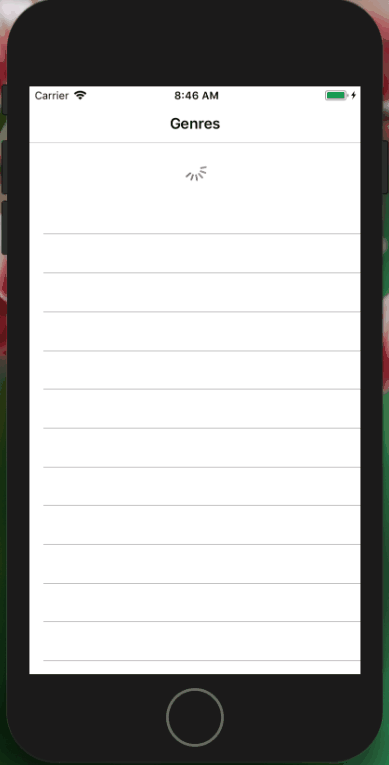
In the code above, we bind the page title to the view model’s Title property, as well as bind the list view to the Genres property. Note, that we also bind IsRefreshing to our view models’ IsBusy property – this will automatically show a progress indicator when the data loads.
You should now be able to see a list of genres retrieved from The Movie Db:

If you’re having problems running the example on iOS, do not panic. There are a few things we need to do to make it work that will be covered in Part 3.
In the next part, we’ll create another page showing all movies for a specific genre and the movie detail. You can find all code for this series on GitHub.
Thank you for reading. Until next time, keep coding!